


Virginia Belle
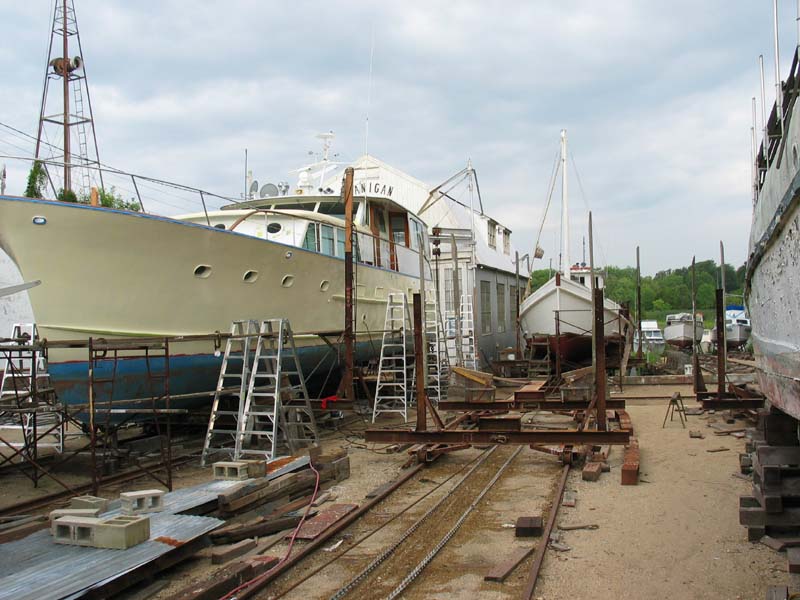
| The Virginia Belle arrived at our boatyard around July 1st of 2005. She had been stored at another boatyard and some sanding, filling, and fairing had been done to the hull. That is why she has so many different colors on the hull. The plan is to haul her out, repair the cabin tops, repaint everything and do some mechanical work on the shafts and packing glands. | 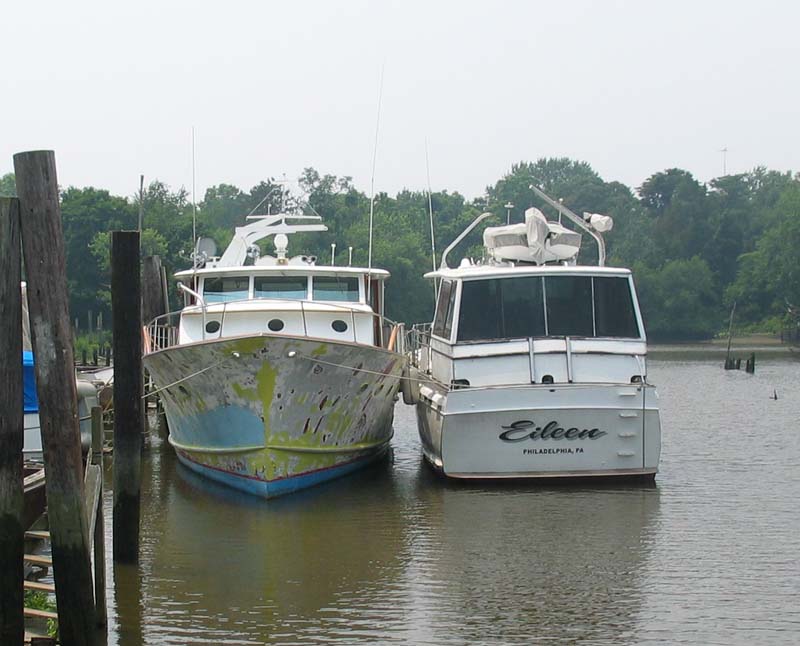 |
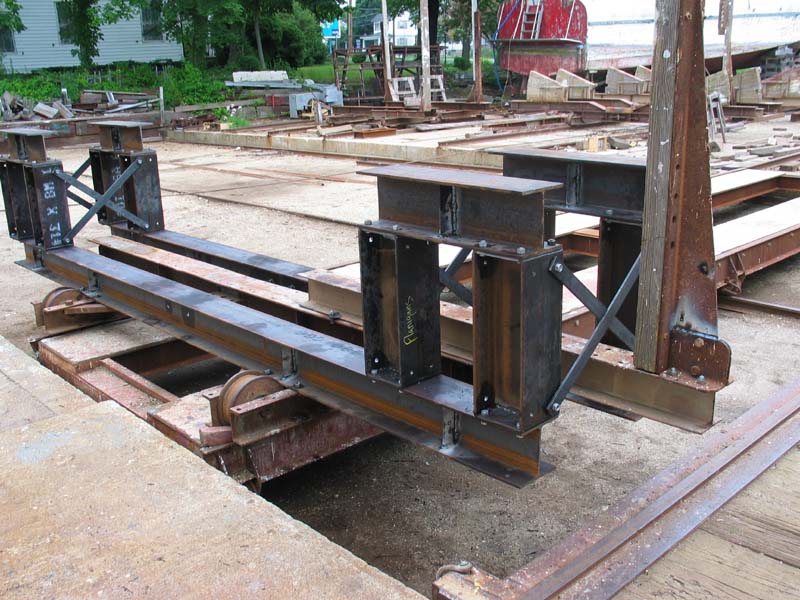 |
We had to build a special car for her because of the fact that we were going to leave her on the car all winter and we still had other boats to haul and work on at the same time. |
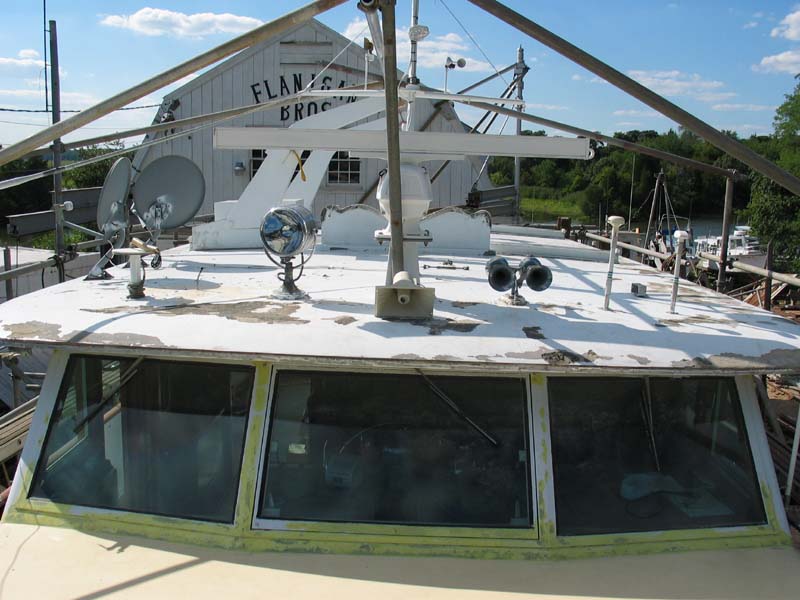
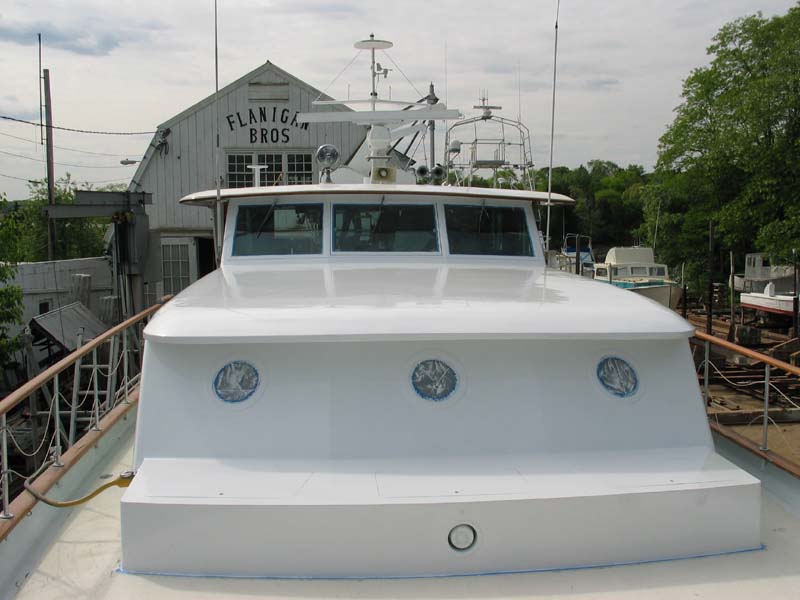
| Here she is at the top of the railway after being hauled and having the bottom washed. She is a 64 foot long all aluminum Burger. | 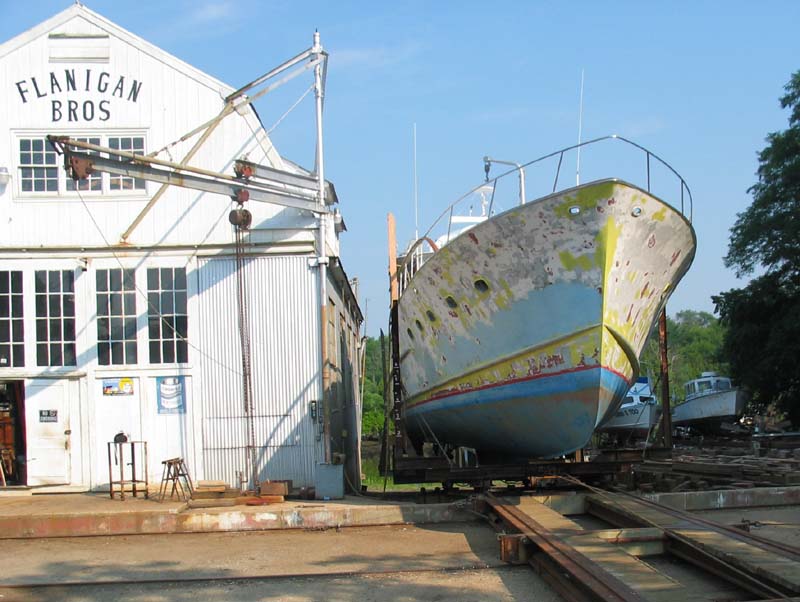 |
 |
Sidetracking is accomplishing with a rope and capstan, and lots of sweat. |
| After she was sidetracked we had to clean up the mess and get her shored up for the winter. This is a high school student that worked for us at the time, Zach Taylor. | 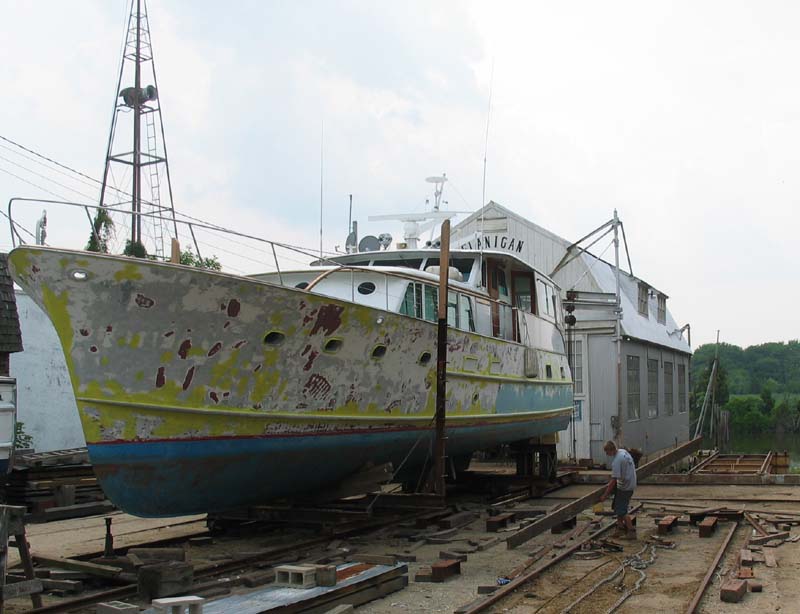 |
 |
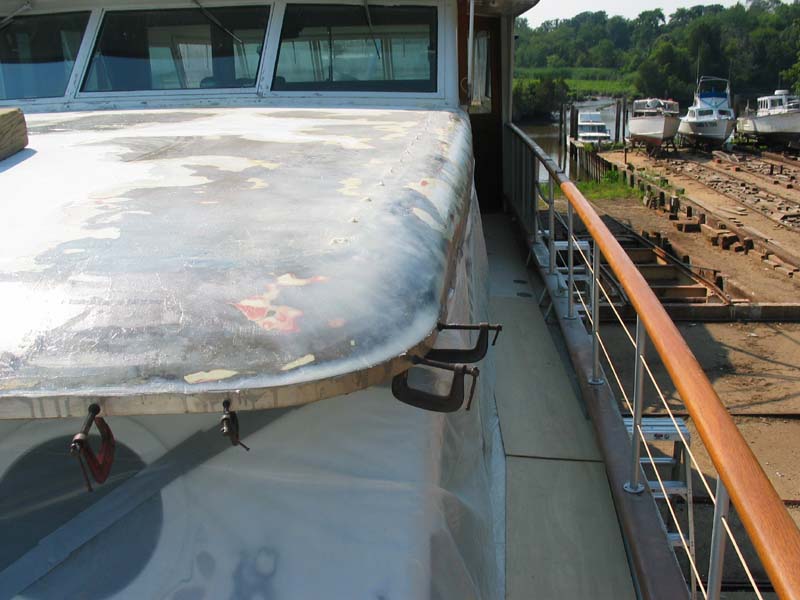
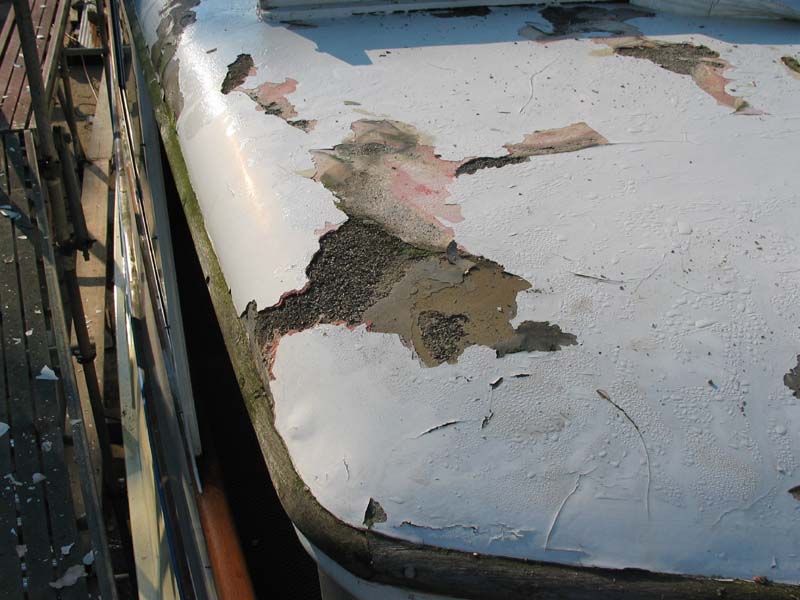
After she was in place we started work on the cabin top that sits over the main salon. The cabin tops are all aluminum so they never leaked even though they were in bad shape. They are covered with some sort of rubber with a sand like filler. That acts as an insulation and keeps the inside of the cabin tops from having water condense on them. Because the boat had been neglected so long the paint had cracked and allowed water to get into the filler and freeze and thaw. |
| Here is an example of some damage to the cabin top. You can see where the original fairing compound started to peel off. Former owners had attempted to repair this with various epoxy's and fillers over the years. | 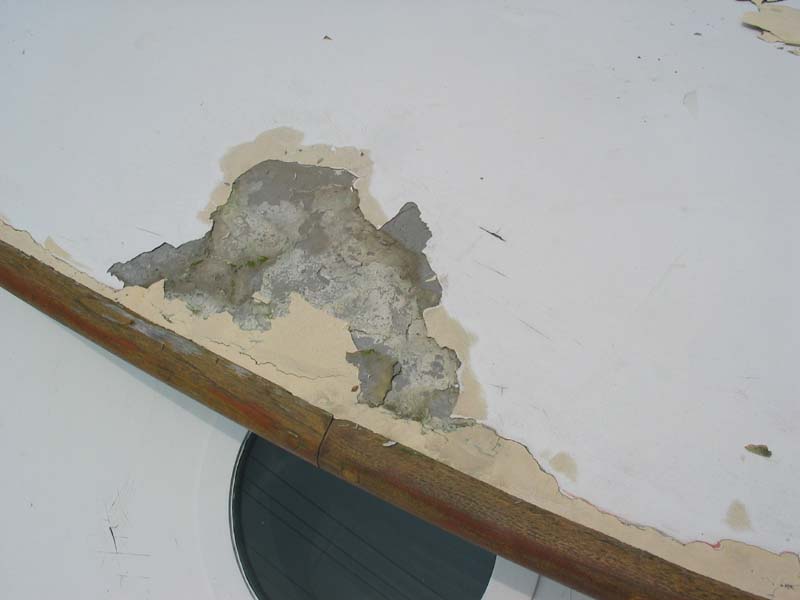 |
 |
Because the damage extended under the trim we decided to remove it all, fair out all of the low spots, and cover the entire surface with epoxy and fiberglass cloth |
| The wood trim was held on with stainless steel machine screws tapped into the aluminum cabin. The holes on the side were covered with blue tape to keep epoxy out of them and allow me to see the line of holes later. The holes in the top of the cabin where the handrail was fastened were harder. The damage was so bad I decided to make pins out of Starboard. Epoxy does not stick to it and I left them sticking up until the filler process was finished. This way rain did not leak into the cabin and I could find those same holes to reuse when attaching the trim. | 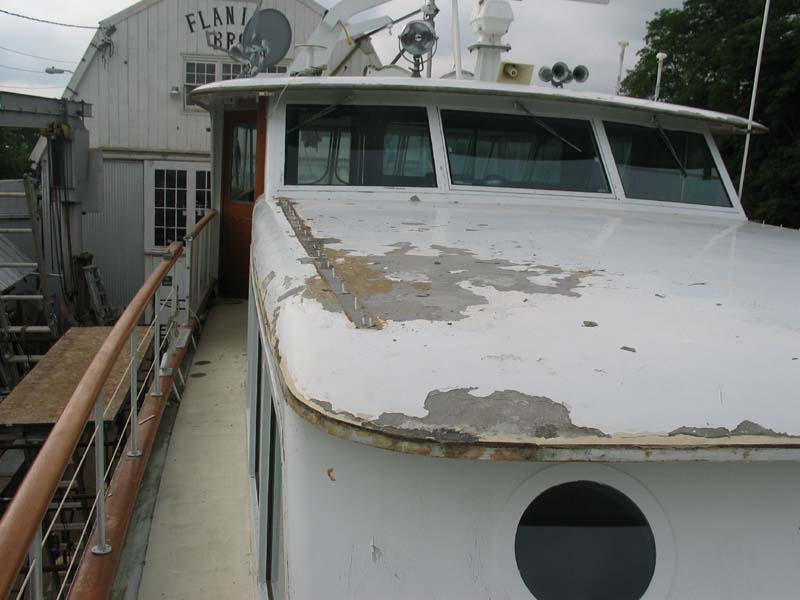 |
 |
We installed a piece of stainless steel to act as a form around the front edge where there was not any original shape to follow. We also had to tarp this every night to keep the dew off of the filler until we finished epoxying it all. |
| The first coat of epoxy acted as a sealer and allowed the following coats of filler something consistent to bond to. | 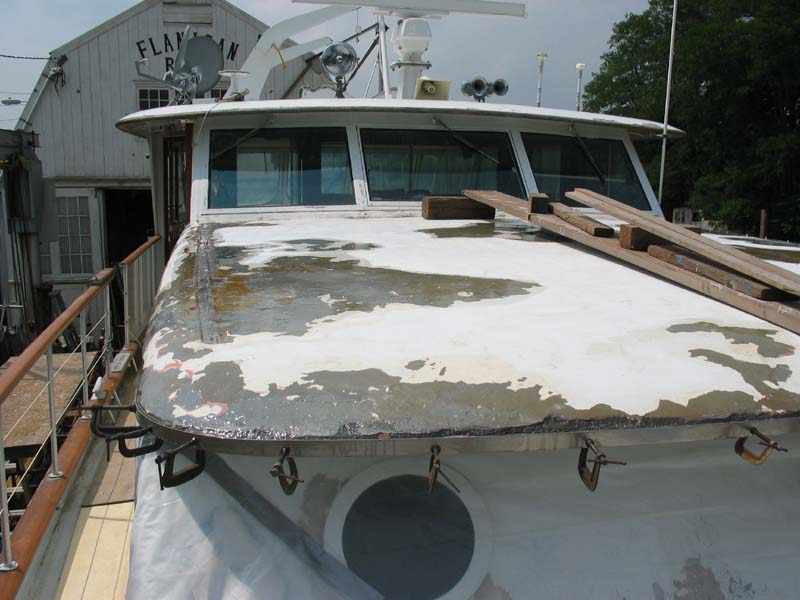 |
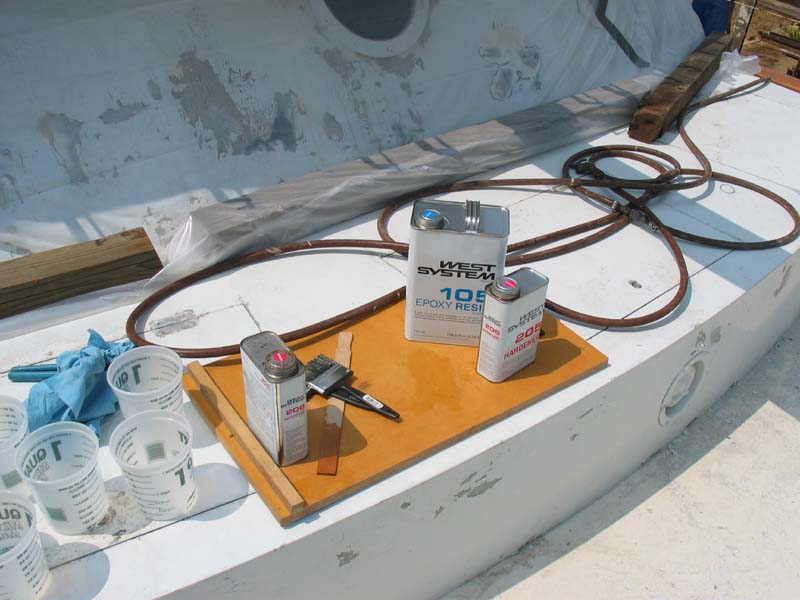 |
We used "West System" epoxy and fillers for this whole job. They are easy to mix and they make a consistent product that will form a permanent bond with many different materials. |
| The fairing process took quite some time. We built it up in gradual coats until we had a smooth overall surface | 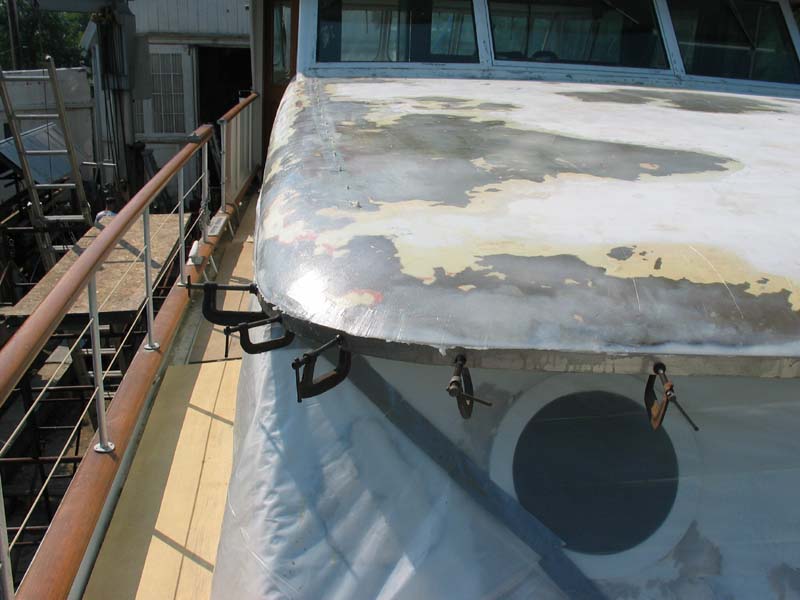 |
 |
You can see the Starboard pins sticking up in this picture. After all the fairing was done we sanded them smooth prior to laying fiberglass cloth over them. Because we used opaque epoxy, after all the epoxy had been laid we could still see the pins. At that point I countersank them slightly so that they would show up after painting. |
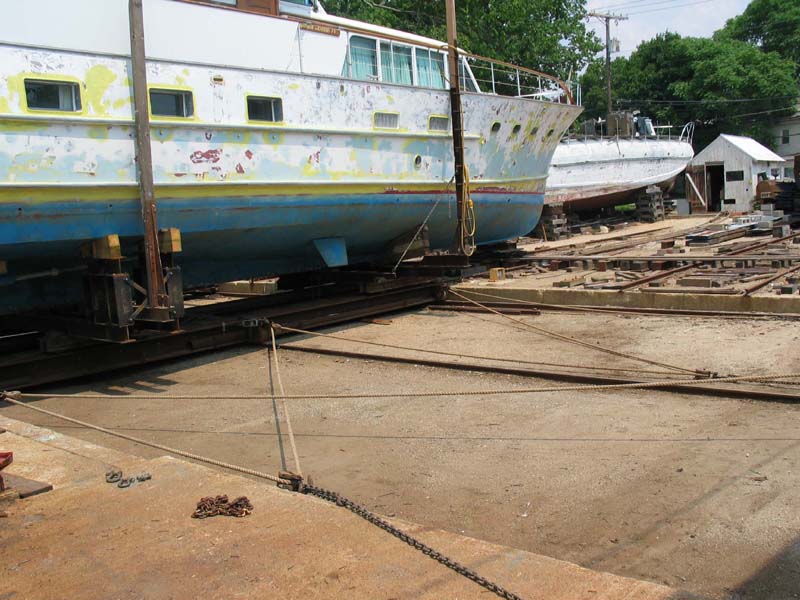
| While all of that work was going on, Rich was working on the hull. Fairing and sanding and priming everything so that it would be ready for paint at the same time as the Cabin tops. | 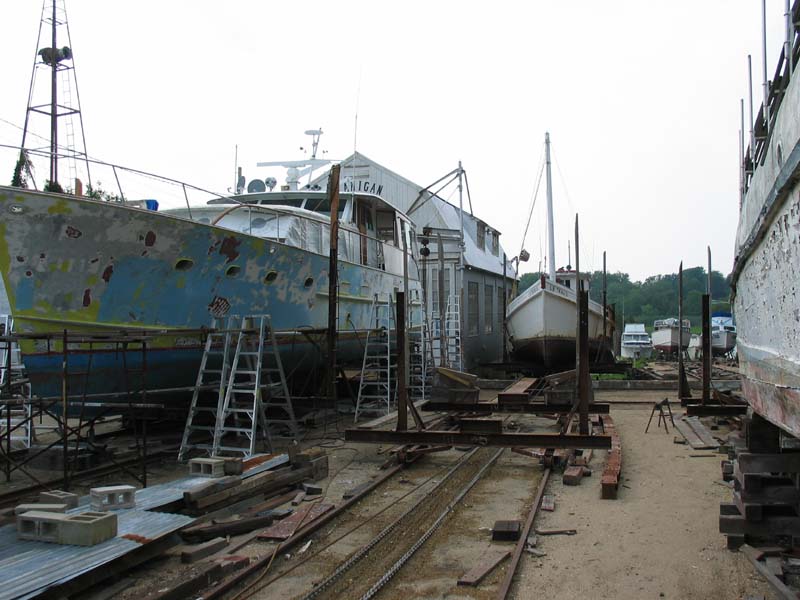 |
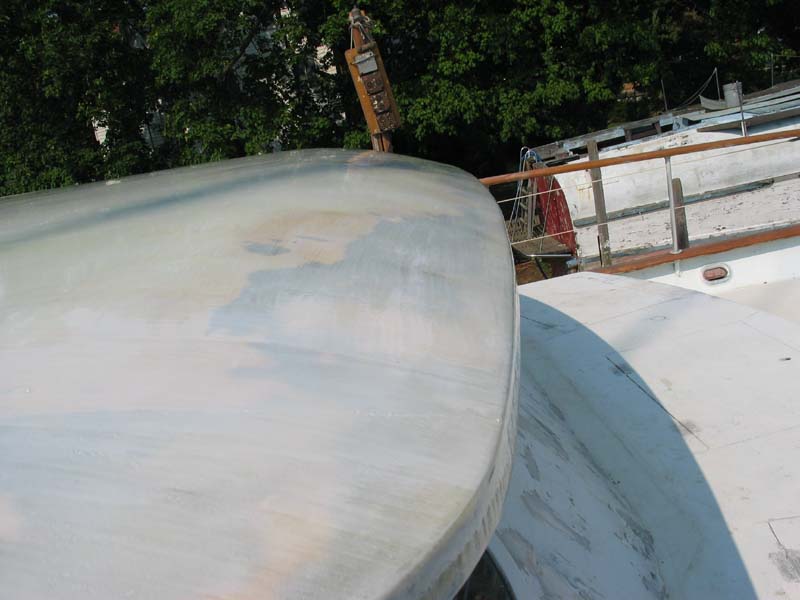 |
After fairing the cabin top and covering it with fiberglass cloth and multiple layers of epoxy it looks pretty good. It just needs paint now. |
| We used Sterling paints on the Virginia Belle, and this is the first coat of a high build primer. It covers very well. | 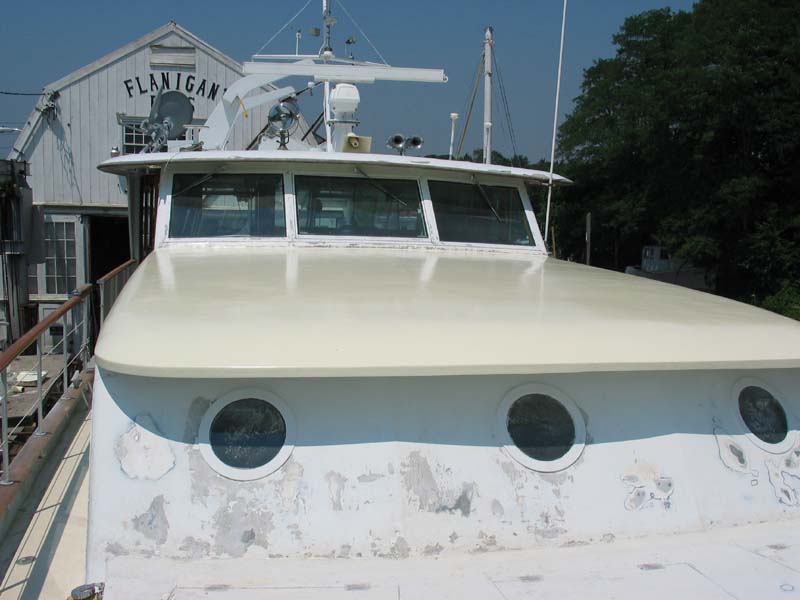 |
 |
Rich was at the same step in the painting process around the same time. |
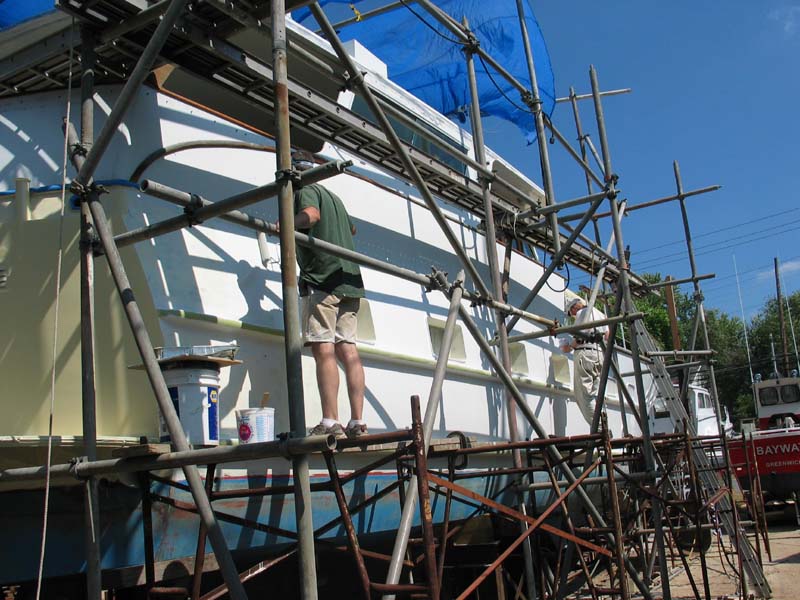
| In order to do the cabin top over the wheelhouse and back deck we needed to set up some scaffolding. We couldn't just set up nomal scaffolding because on the port side of the boat there was only about 2 feet of clearance between the side of the boat and our big boat car. | 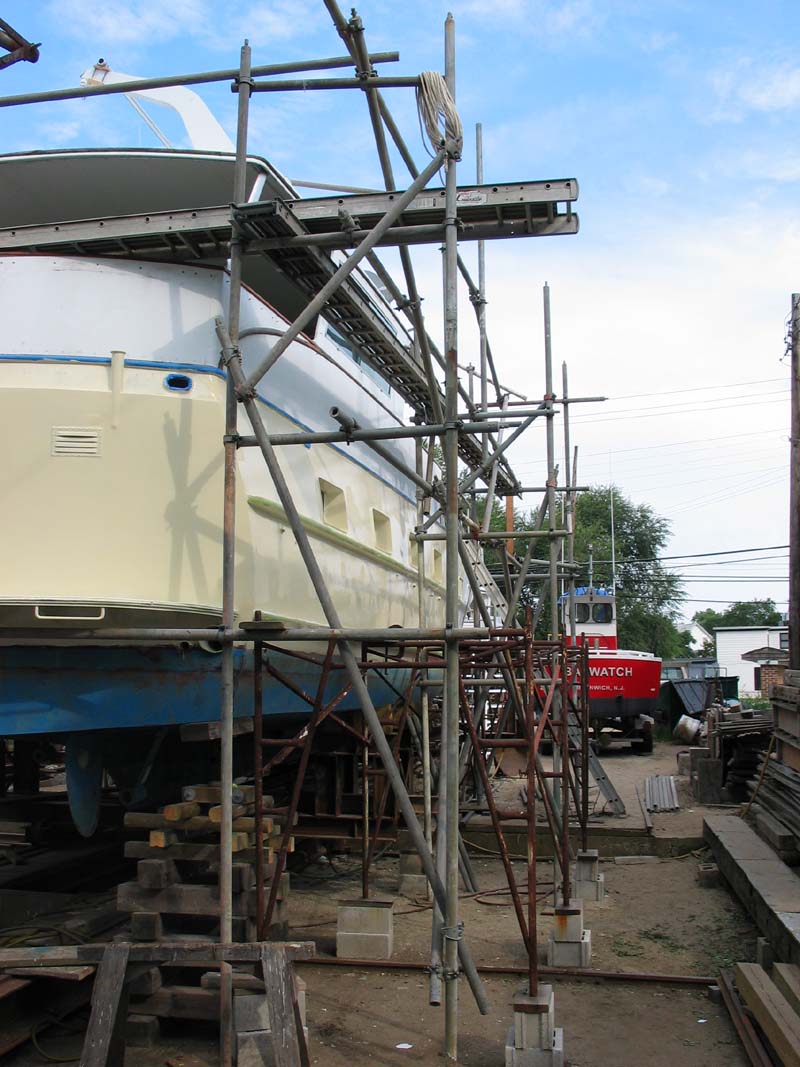 |
 |
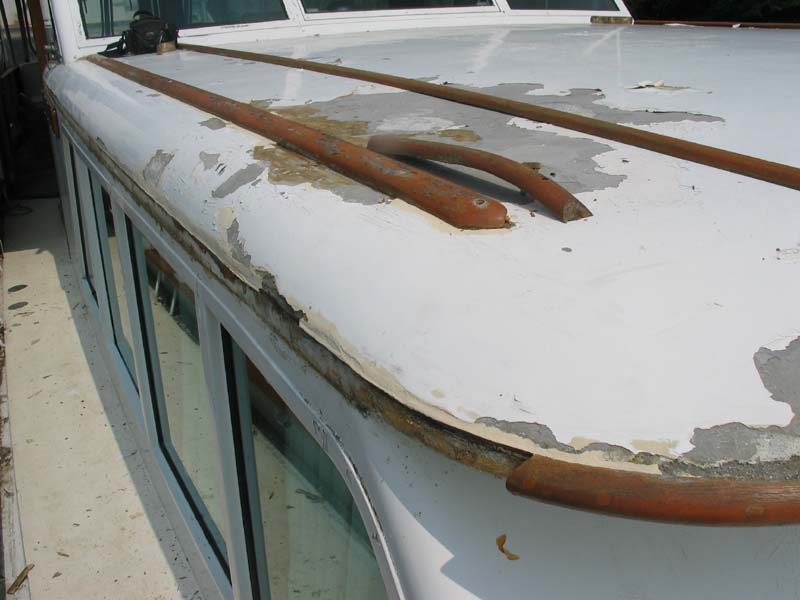
This seemed to be the worst area of the upper cabin top, all the wood trim around the back end had to be replaced. Also huge layers of old paint and fairing compound were already peeling off before we even started. |
| The trim around the front of the upper cabin top was salvagable, it was sanded and varnished by the owners while we were working on the rest of the repairs. | 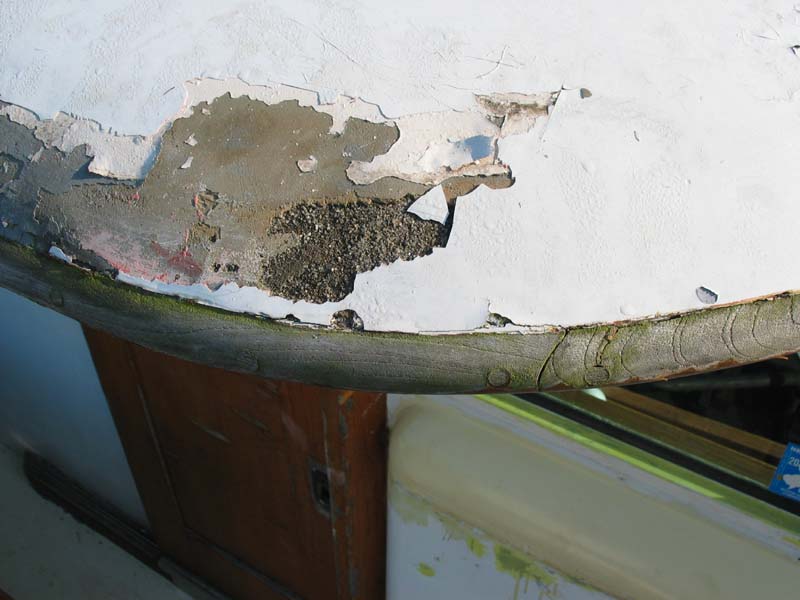 |
 |
In the front of the upper cabin there were several repairs made while we were doing the top. One of the GPS antenna's was removed and underneath it repaired. The satellite dishes were removed, and a covered receptacle box was installed to run the hoist with. |
| This picture shows the extent of the damage to the surface from water creeping under the paint. A little bit of maintenance over the years would of saved the new owners a lot of money. | 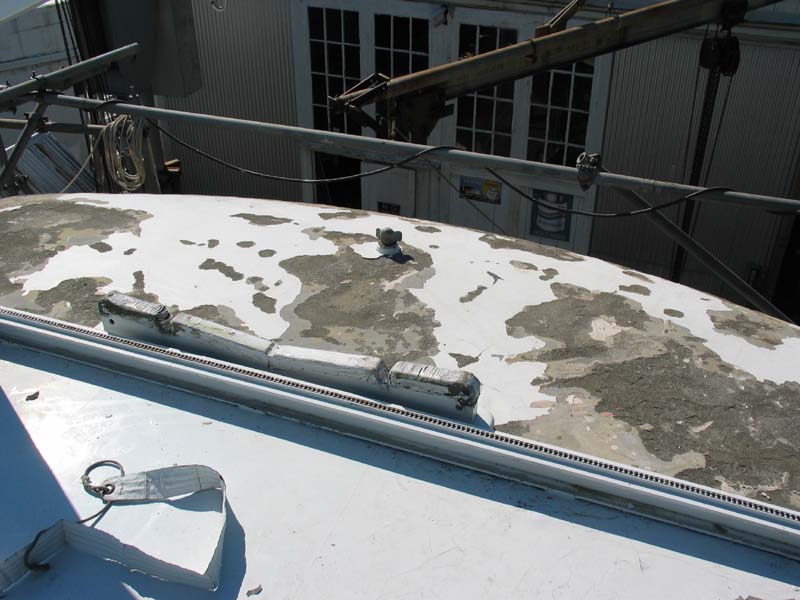 |
 |
Bryan Flanigan is laying epoxy in this picture. It was a hot summer. |
| Here you can see our makeshift tent which was mostly to allow us more working time with the West system epoxy. Also notice how close to the boat the scaffold on the port side is. | 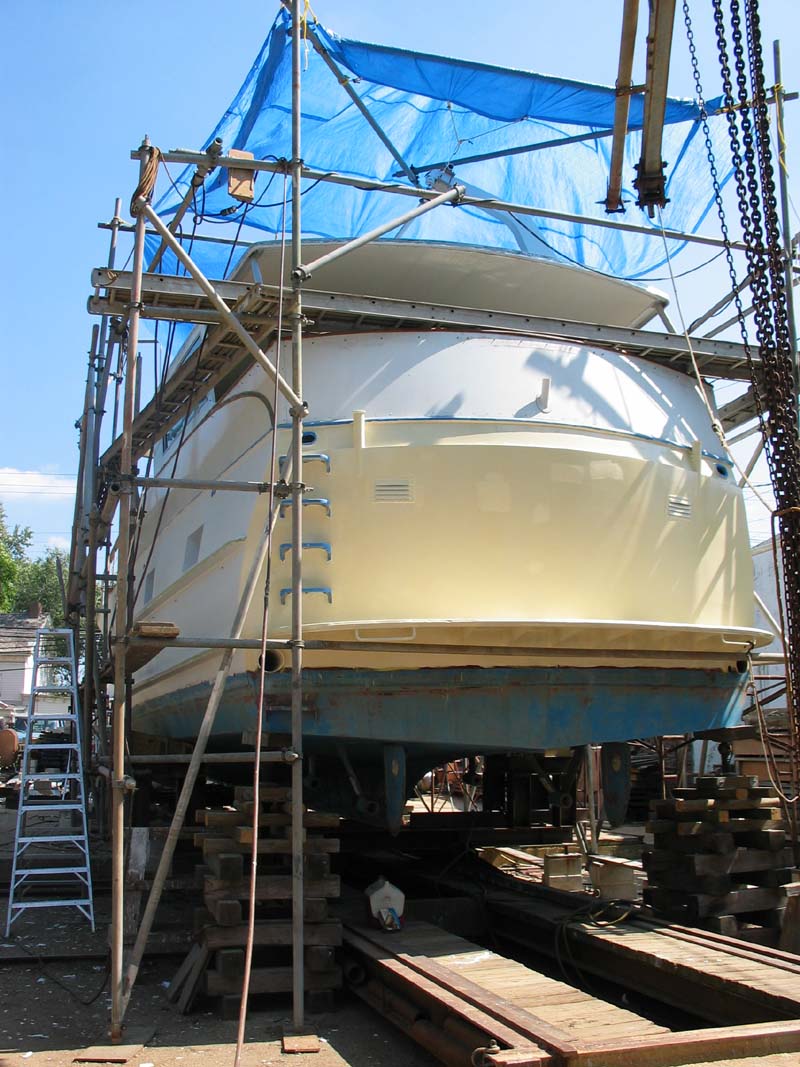 |
 |
Some of the priming and fairing on the hull was done by the fabulous Mike and Ray paint crew. |
| Here is the back of the upper cabin top all faired and ready to accept fiberglass cloth. | 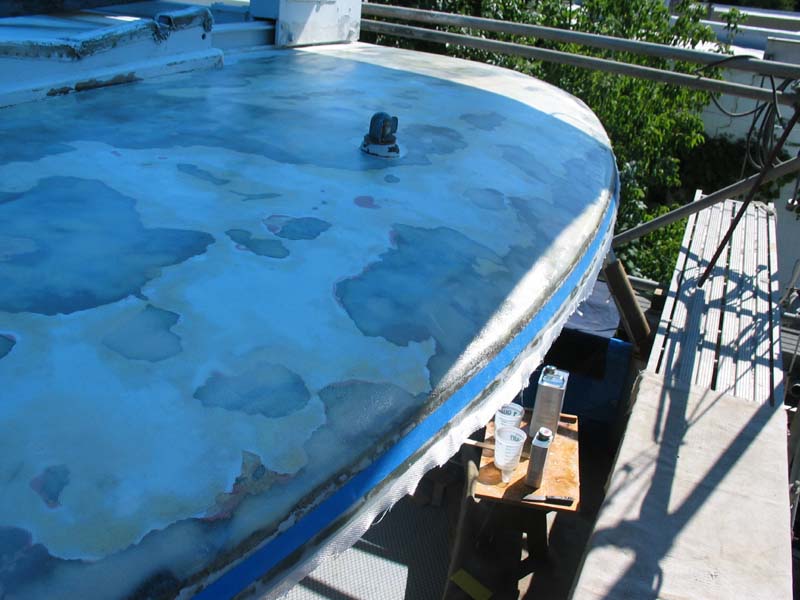 |
 |
We went around the edges with cloth first. A pigment was added to the epoxy to so that it would be easier to cover with paint later on. |
| Here we have primed the whole upper cabin top with the Sterling high build primer and we have primed two-thirds of the top with the last coat of primer before finish paint. | 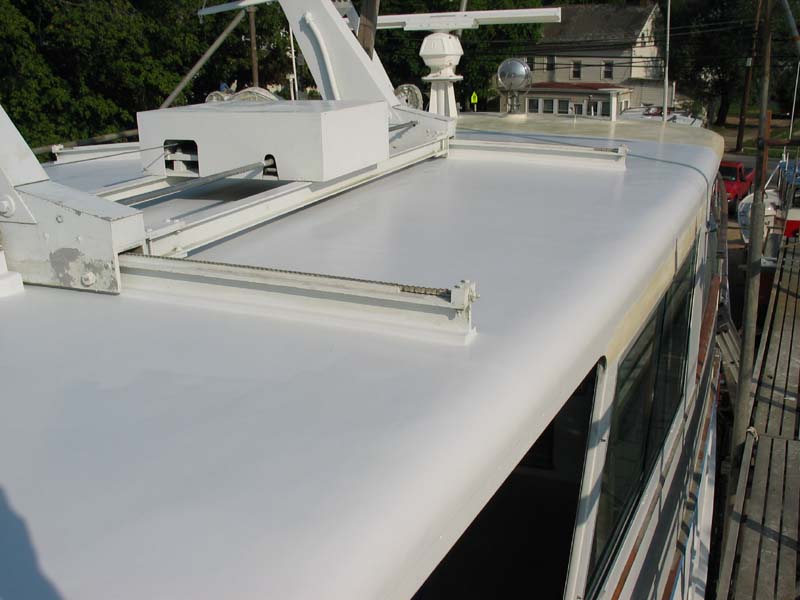 |
 |
We primed both the upper and lower cabin tops at the same time. Because Sterling paint is a two part paint which had to me mixed prior to use we always tried to have more area sanded and ready to paint than we mixed paint for. That way we kept the waste to a minimum. |
| This is Zac Taylor, our helper during the first half of this project. The first coat of Sterling finish paint is on the upper cabin top in this picture. | 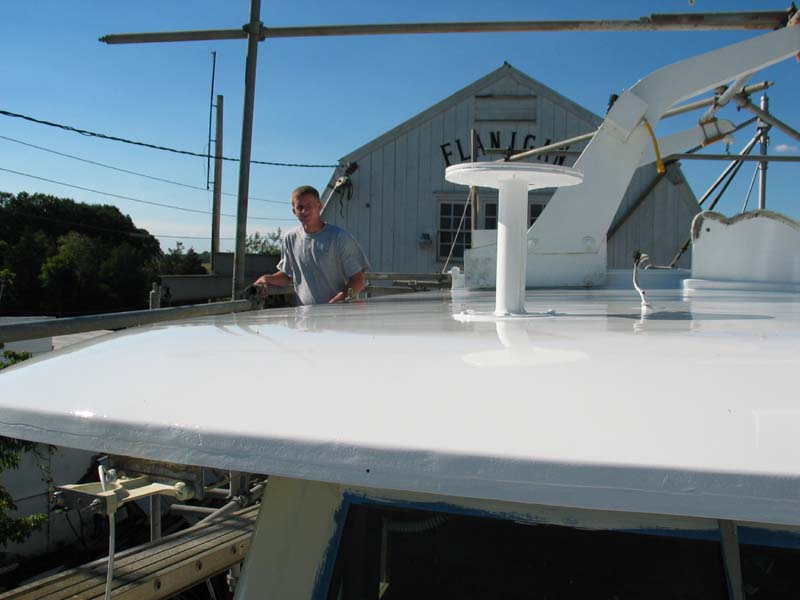 |
 |
The Sterling paint really shines doesn't it? In this picture you can see the ladder we used to get on the boat with. When we were not working on that corner of the roof we kept our scaffold plank pulled up in the air to make boarding easier. |
| This is about as far as we got in the summer of 2005. In the fall the owner brought his other yacht, the Vixen, and we repaired her stern in the water. That job is described here. So we took a break from the Virginia Belle for the winter. | 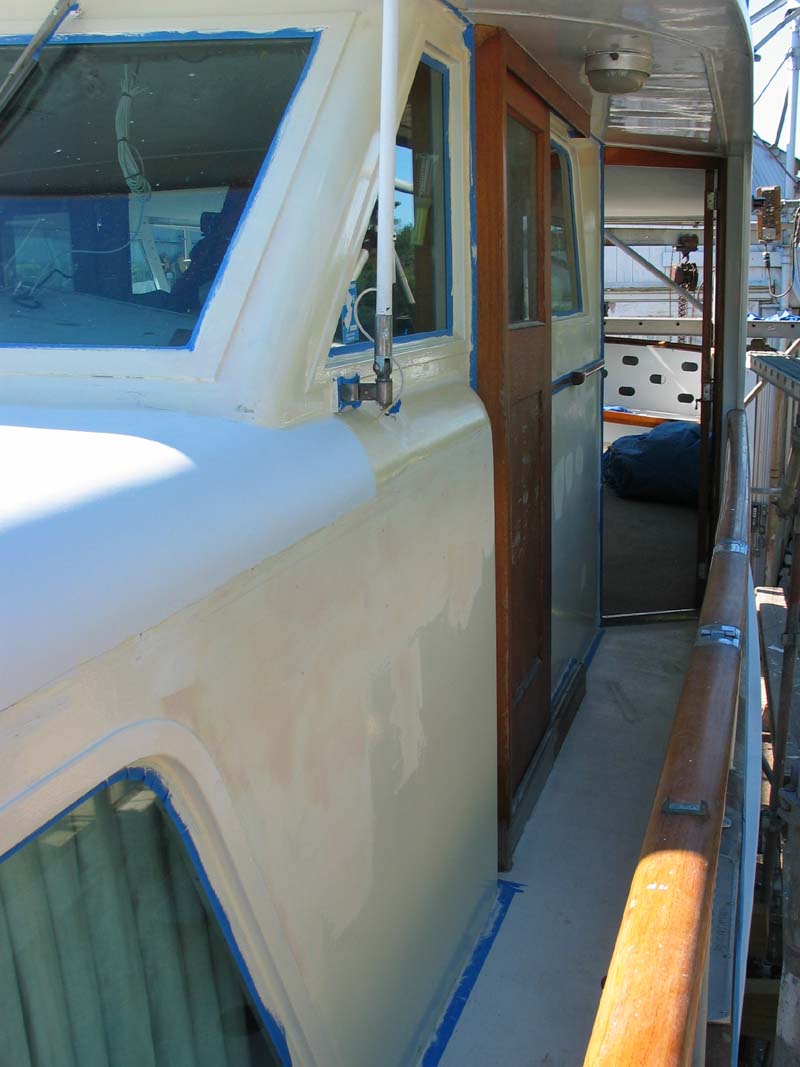 |
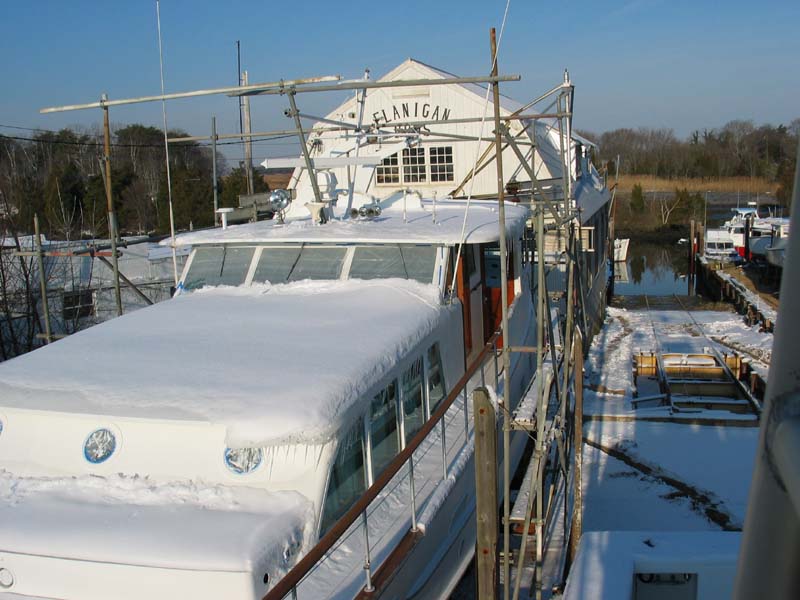 |
Its kind of hard to paint in this kind of weather anyway... |
| As I mentioned earlier, some of the trim around the edge of the upper cabin top had to be remade. This is one of the pieces. Not a particularly easy piece to make as it curves around the top as well as twisting from the angled back to the straight side. | 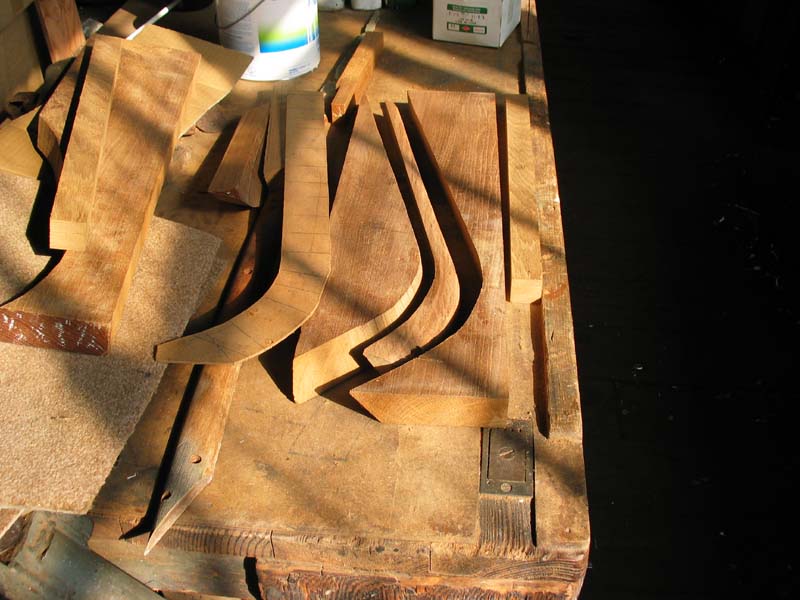 |
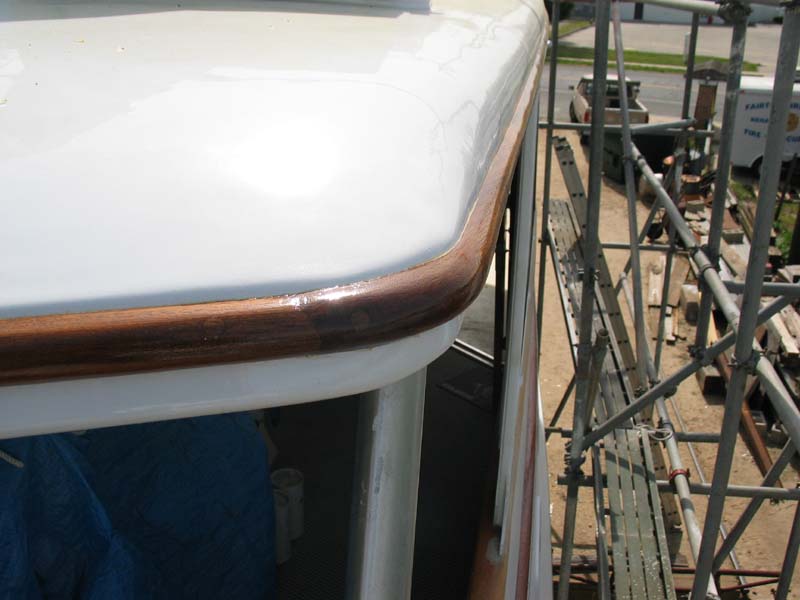 |
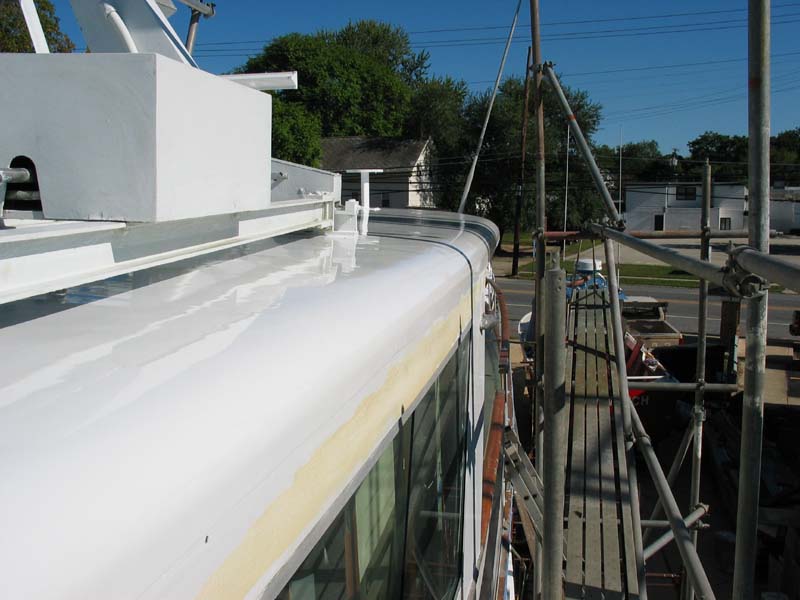
Here is that piece installed and varnished. |
| The newly varnished trim really sets off the edge of the top doesn't it? As long as its kept varnished it should last a long long time. | 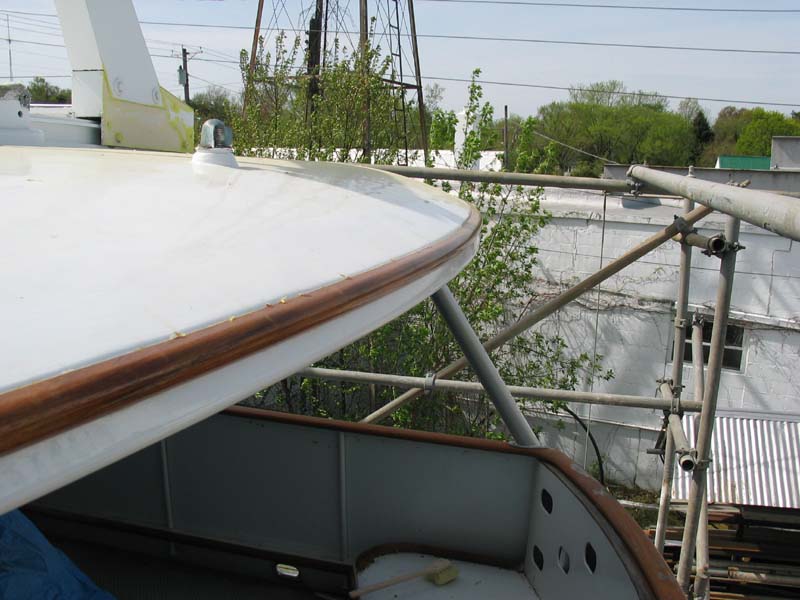 |
 |
The top half of the curved portion of trim in this picture is also new wood. Kind of hard to tell isin't it? |
| Rich is painting the hoist that raises and lowers the dingy. It needed no repair other than sanding and painting so we left it for last. | 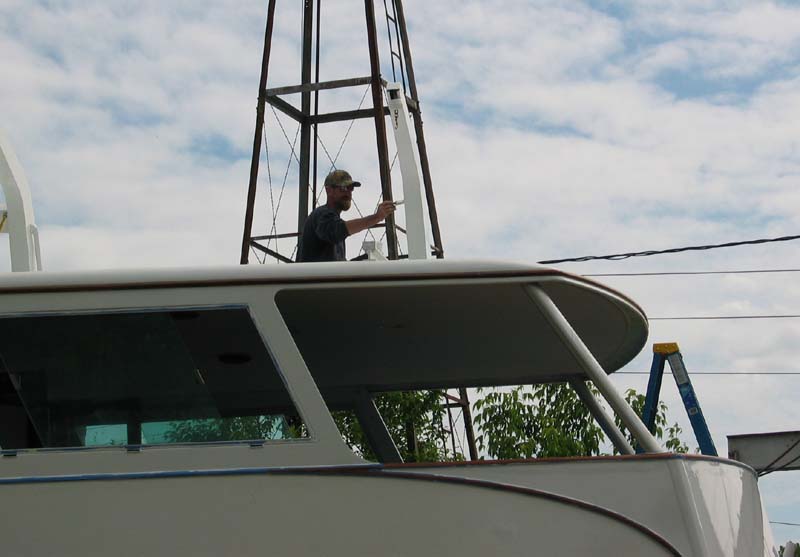 |
 |
Here we have started fairing, priming, and painting the rest of the areas that need work. Rich, Mike, and Ray did quite a bit of this work. |
| Here's the view up the port cabin top, its now just waiting for trim to be installed. | 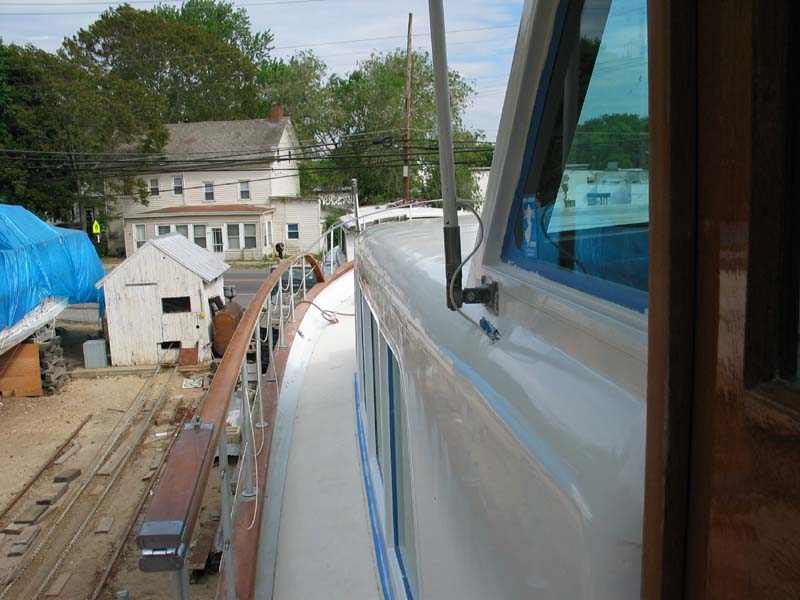 |
 |
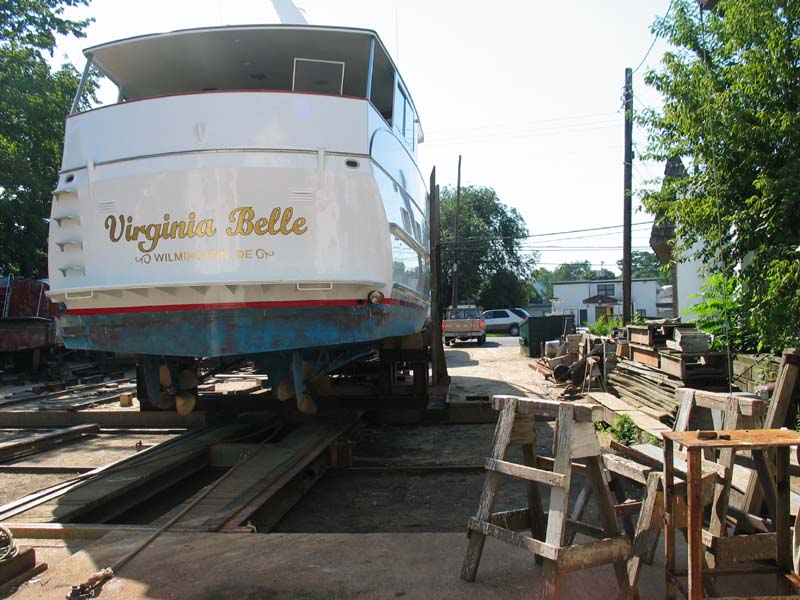
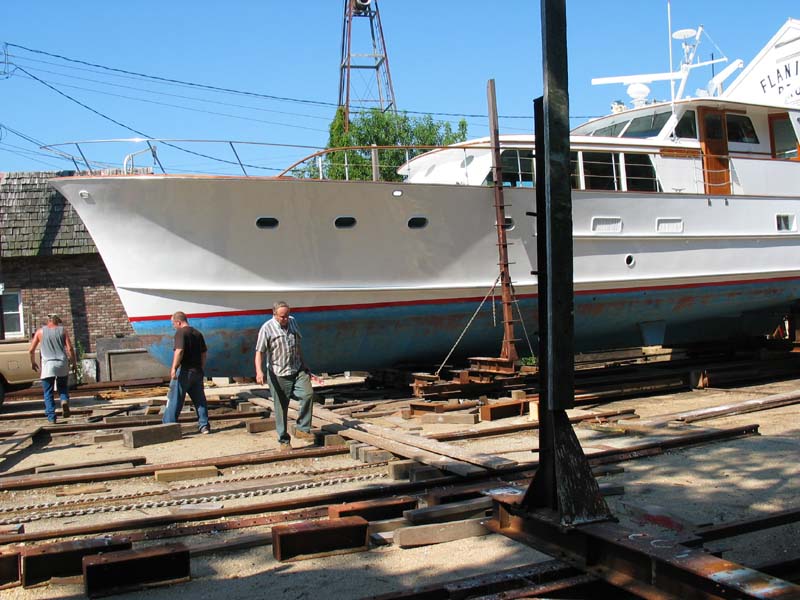
Once all the work on the upper part of the boat was finished we removed all the scaffolding and set up to paint the hull. |
| Here she is with all the painting on the hull done. The only thing left to do to the hull is sand and paint the bottom which will not be done until the boat is sitting back on the railway ready to go into the water. | 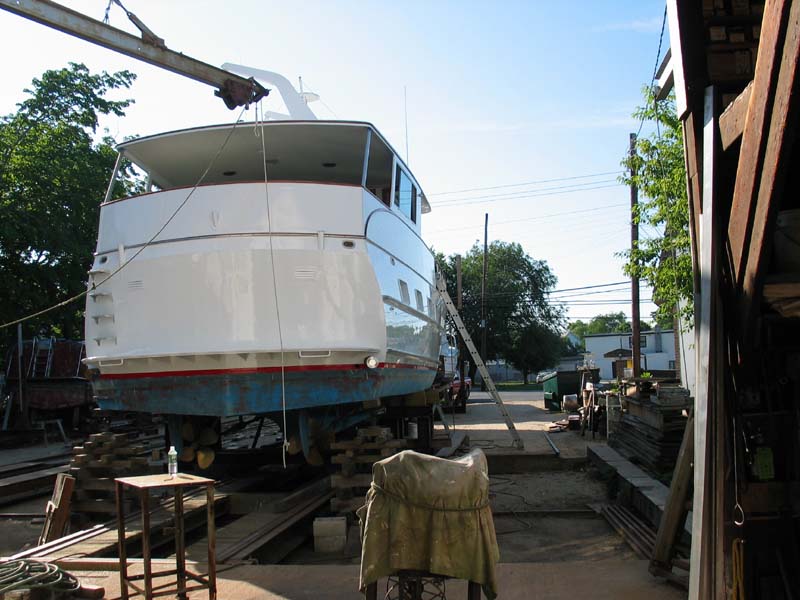 |
 |
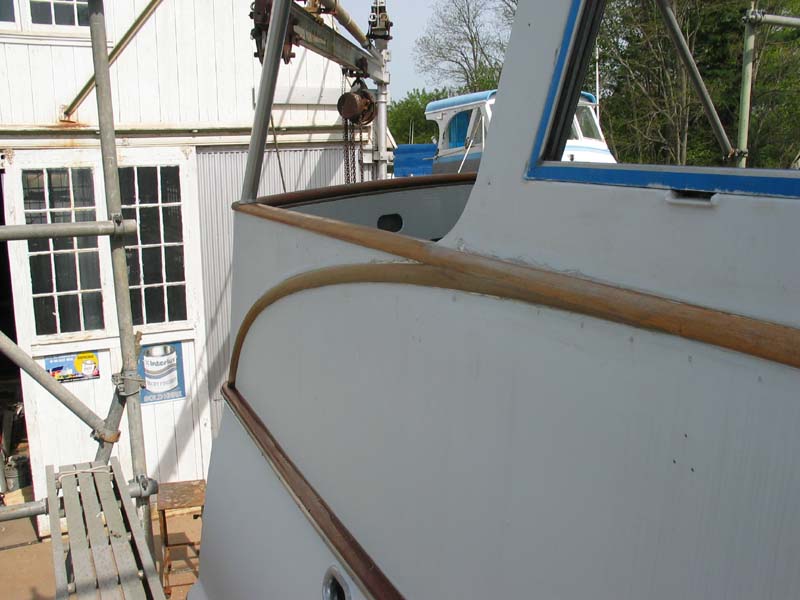
Trim is going back on the lower cabin top. Its a time consuming job because after the trim is installed the holes have to be plugged and then sanded flush and revarnished. |
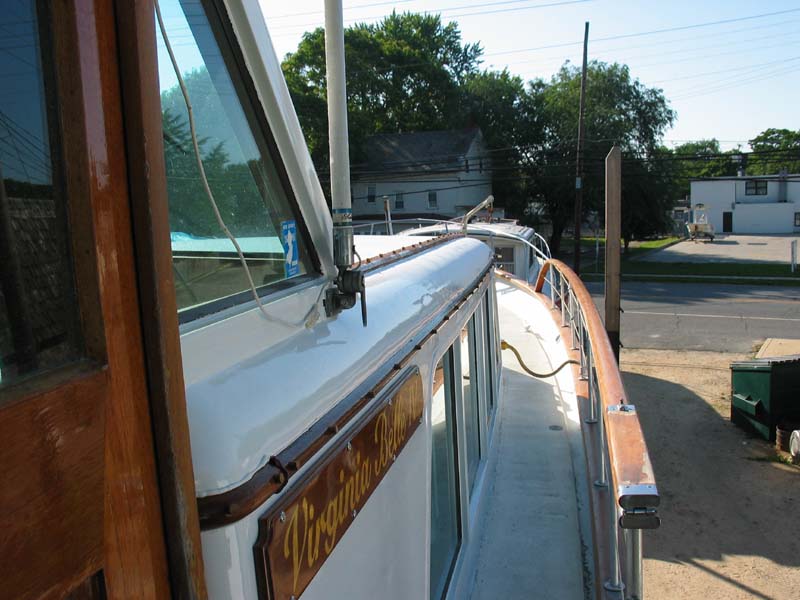
| The Virginia Belle was lettered by F & W Grafix of Monroeville, NJ. They actually brought the machine that cuts the letters out right to the boat and did the whole job on site. |  |
 |
Virginia Belle is making the short trip to the water. We are pulling her back with a rope and Capstan and Pop is acting as the brakes with more rope and pulleys and his truck. |
| This is about as far back as I was willing to let her go. We could of slid back a couple more inches but I am chicken... | 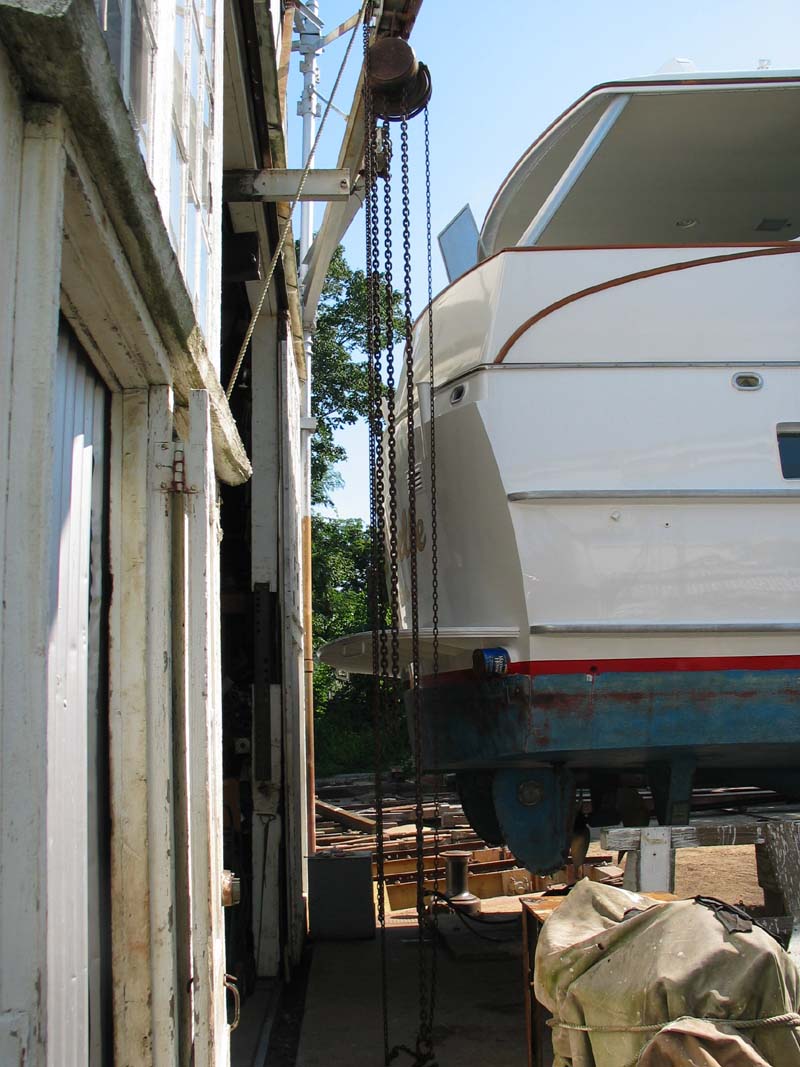 |
 |
Pop and our new workers Paul and Zach are working on setting up to move the Virginia Belle sideways. |
| Here she is after a successful move over to the railway tracks. |  |
 |
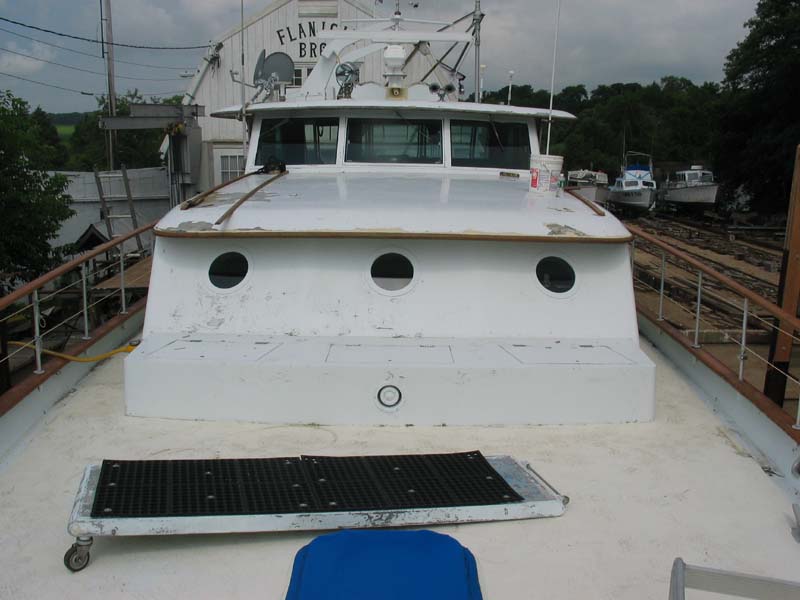
The Virginia Belle is sitting up on our lift. We use the lift only to move large boats up into the yard for jobs that will take a long time. Most of the time work on larger boats is done right on the railway. |
| Here she is the night before launch. The waterline has been finished, the bottom is painted and everything is ready to go for an early morning launch. That's Bryan's son Jeremy relaxing in front of the shop. | 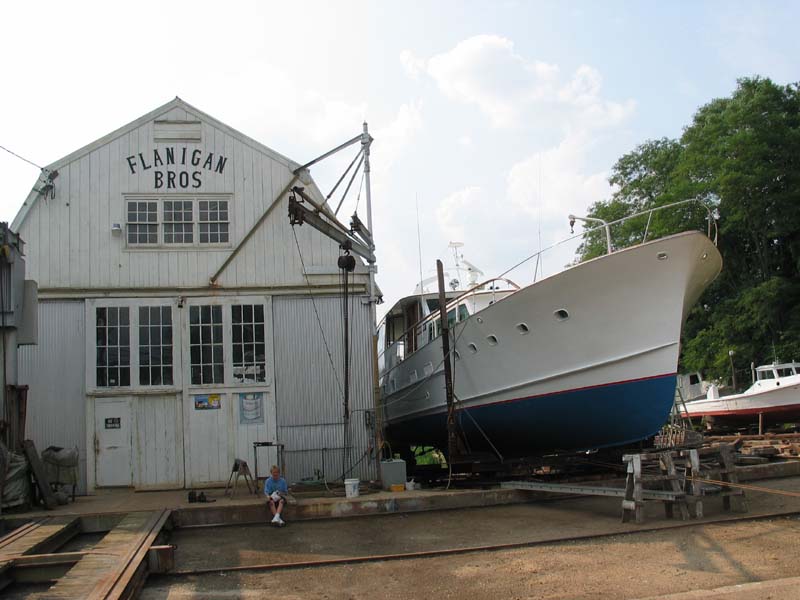 |
 |
This picture was taken the morning of her launch, it was very wet and cloudy out. That's why the paint doesn't shine. The owners are going to finish up the remainder of the paint and varnish work. The only thing left is varnishing the rest of the handrails and trim and painting the front deck. |
| After launch the engines and generator were started up, everything was running well so she left on that tide. | 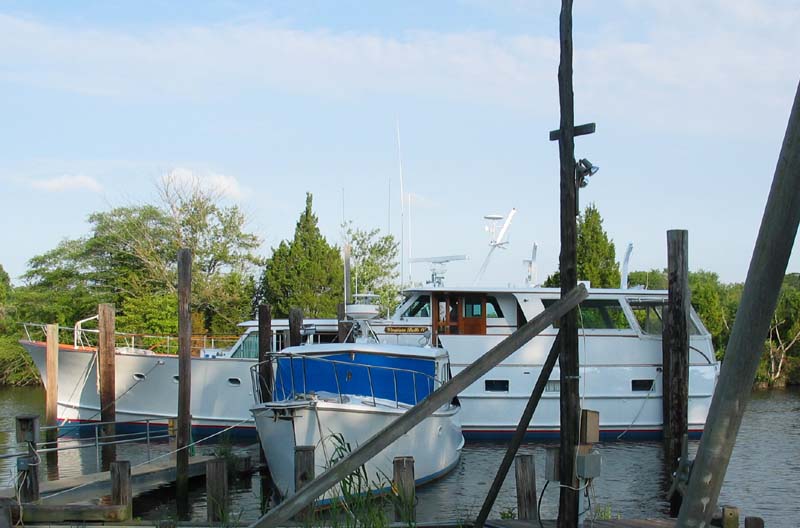 |
 |
A last look on the way around the bend. She may be back in a couple of years for some improvements. A gate is needed out of the back deck so that access to the swim platform is easier, and the owner would like a flying bridge. Farewell Virginia Belle! |